Quick Facts
- Prep Time: 20 minutes (plus chilling)
- Dietary: Vegan, Gluten-Free, Refined Sugar-Free
- Difficulty: Easy
- Pan Size: 8x4 inch loaf pan or 7x10 inch pan
- Key Equipment: Food processor and parchment paper
- Yield: 10-12 generous bars
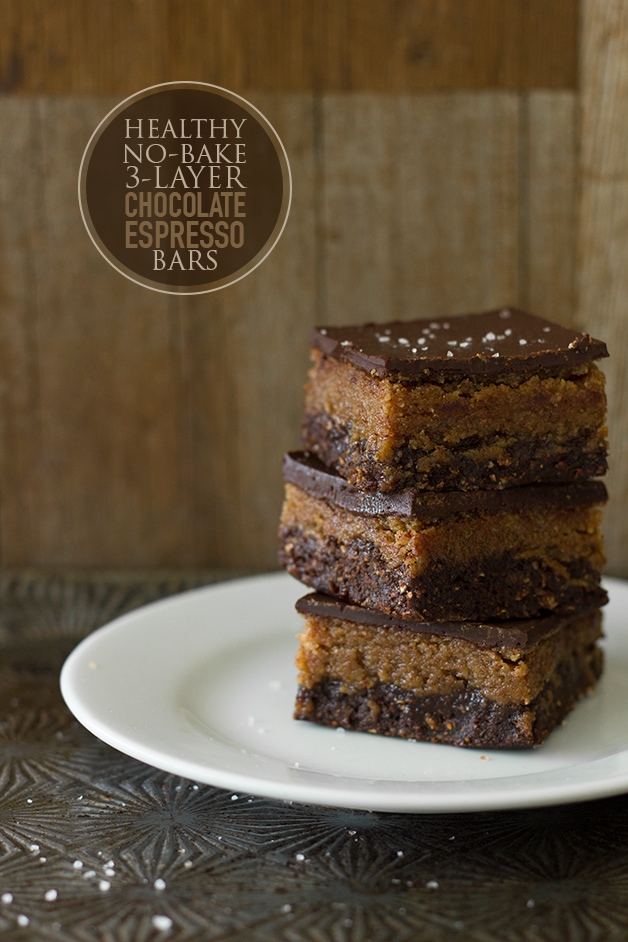
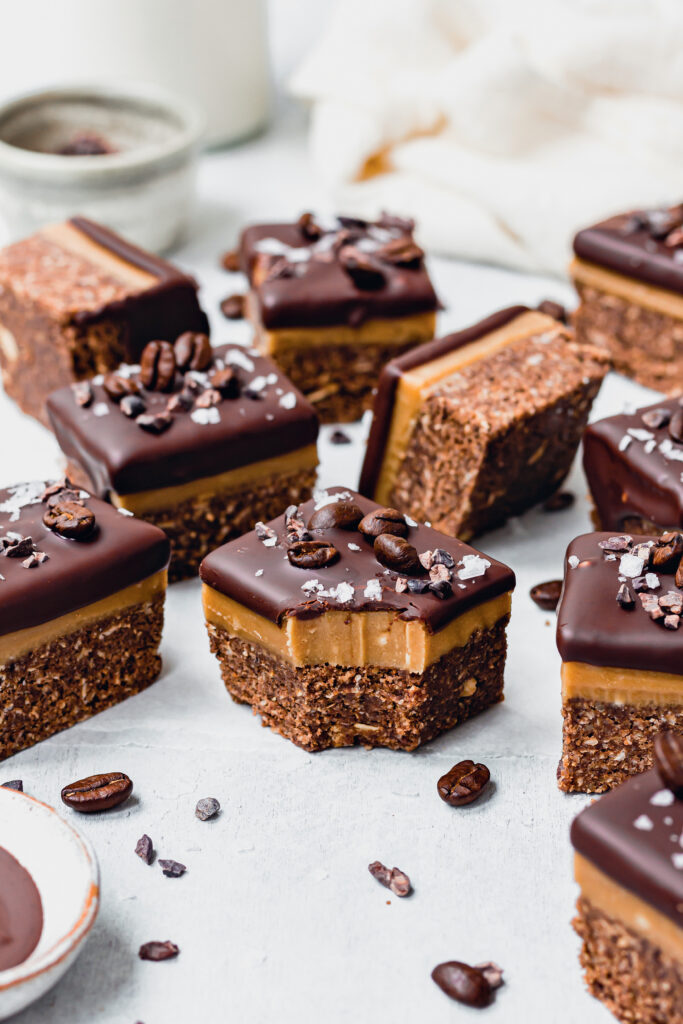
Vegan Espresso Caramel Bars are a plant-based, no-bake dessert inspired by millionaire shortbread. This dairy-free espresso chocolate slice consists of three distinct layers: a mocha-flavored base, a coffee-infused salted caramel, and a smooth dark chocolate topping.
There is something inherently sophisticated about the combination of deep roasted coffee and buttery caramel. When you translate those flavors into a plant-based format, you often lose the texture—the "snap" of the chocolate or the "pull" of the caramel. However, these Easy 3-Layer Vegan Espresso Caramel Bars manage to hit every sensory note without a single drop of dairy or refined sugar. As an editor who has tested countless vegan desserts, I find that the secret lies in the quality of your fats and the intensity of your espresso. This recipe isn't just a healthy alternative; it is a decadence in its own right, offering a fudgy texture that rivals any traditional bakery find.
Whether you are looking for a mid-afternoon pick-me-up or a dinner party showstopper that caters to everyone at the table, these bars are remarkably versatile. Because they require no baking, they are perfect for warmer months or for those days when you simply don't want to monitor an oven. They rely on the cooling properties of coconut oil and the stabilizing power of nut butters to create a structural masterpiece that holds its shape at room temperature but melts the moment it hits your tongue.
The Layer Breakdown: Mocha, Caramel, and Chocolate
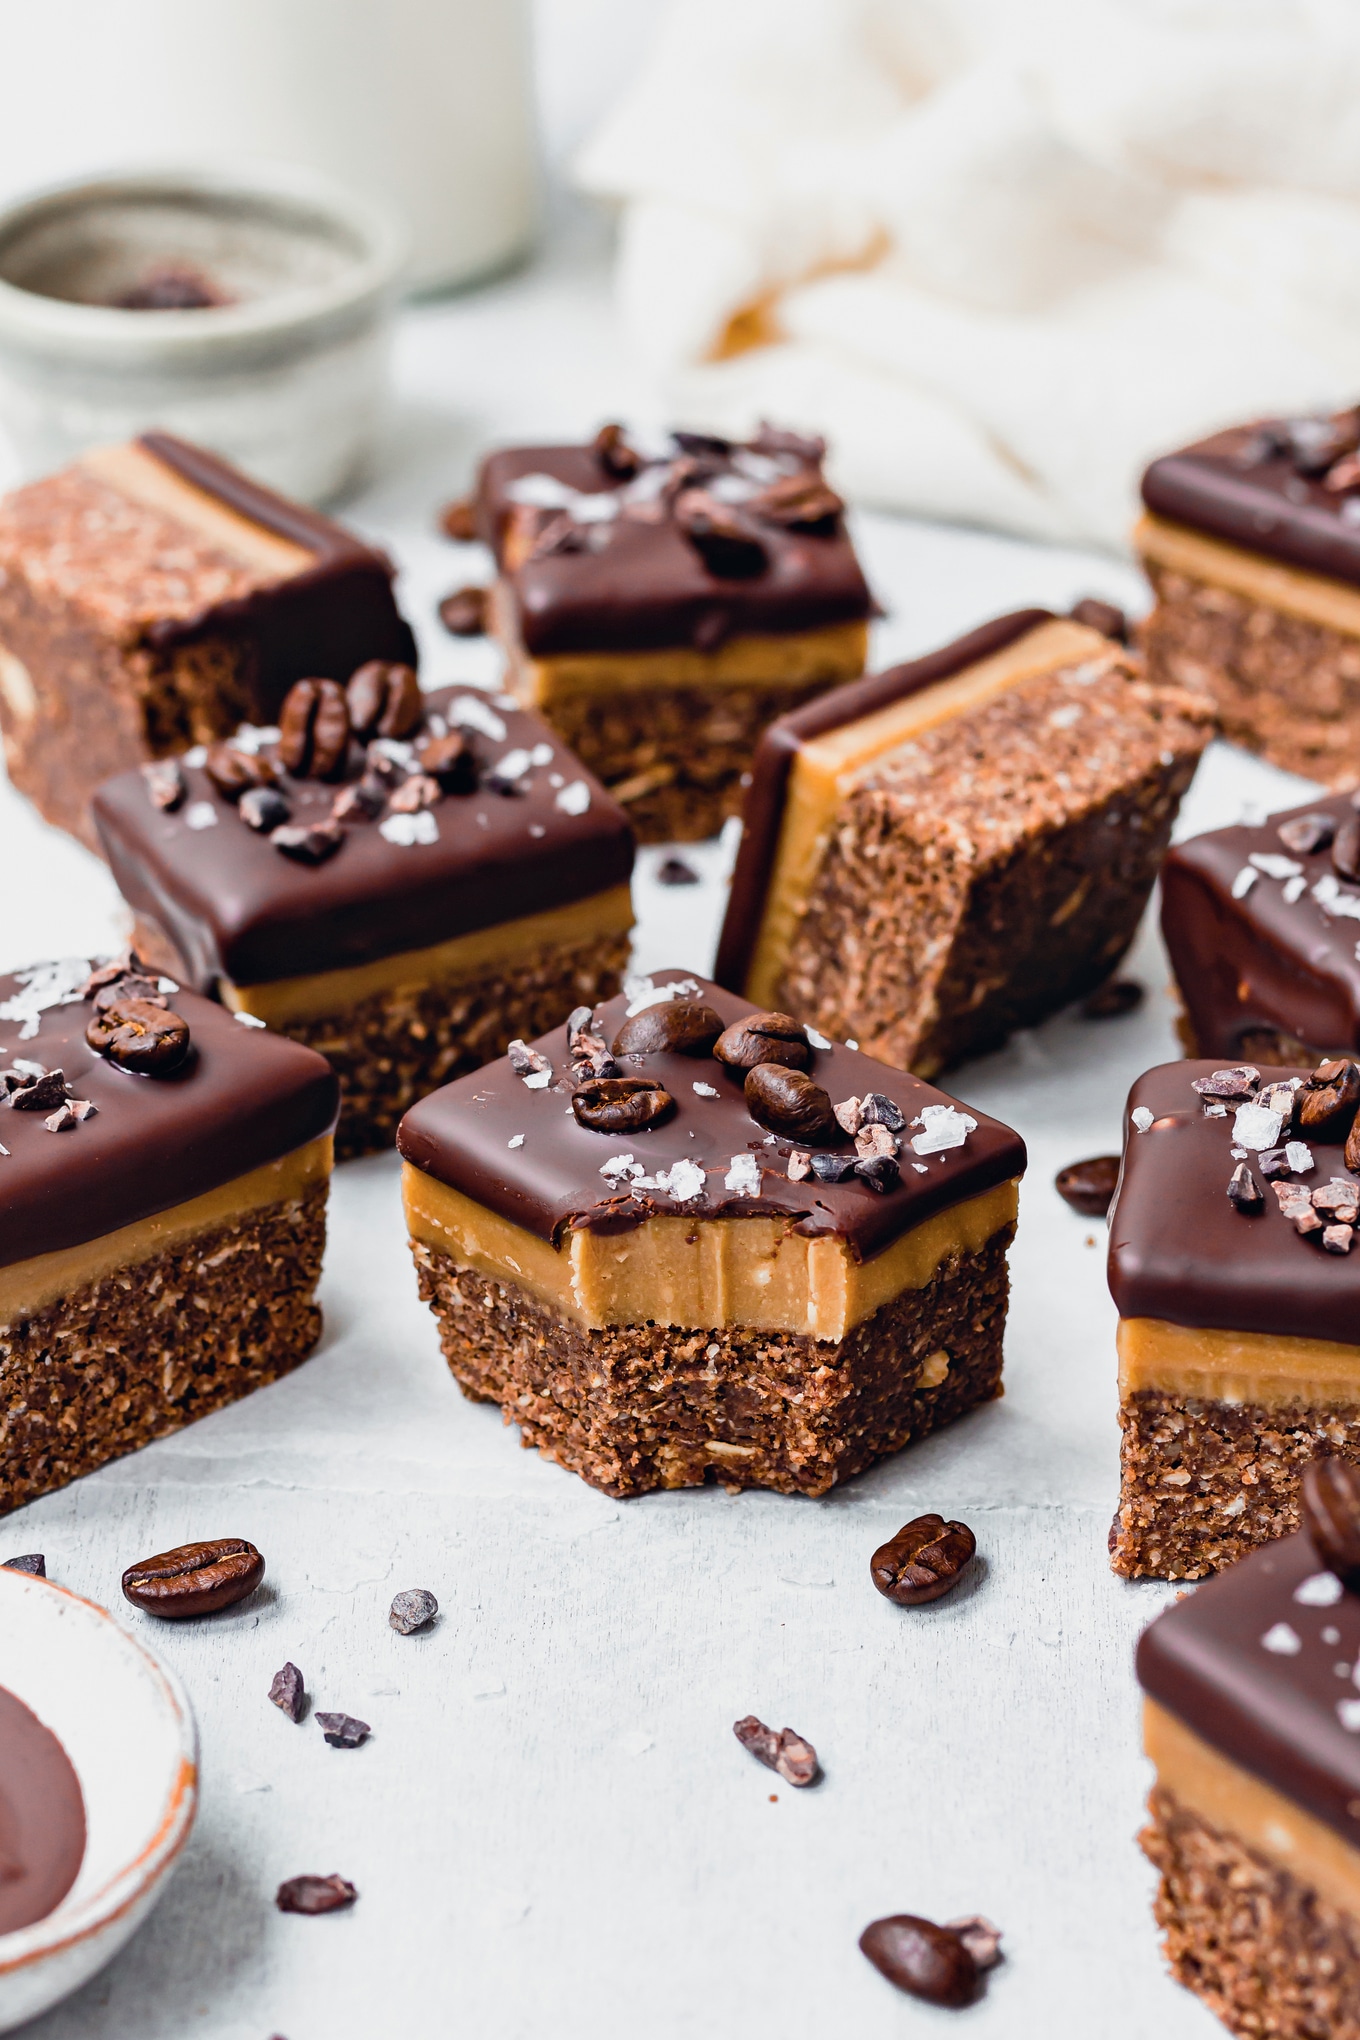
To understand why this dessert works so well, we have to look at the structural integrity of the layers. A traditional millionaire shortbread uses a flour-and-butter base, but for our gluten-free vegan mocha bars, we pivot to a mixture of ground almonds and certified oats. This creates a mocha-flavored biscuit base that provides a satisfying crunch and a nutty undertone. By pulsing the oats and nuts in a food processor with a touch of cacao powder and maple syrup, you achieve a dough that is pressable but not greasy.
The middle layer is where the magic happens. Traditional caramel is a science experiment involving boiling sugar and heavy cream. Our version simplifies the process while amping up the flavor. We use a base of creamy cashew butter and maple syrup to create a coffee-infused salted caramel. Cashew butter is the preferred choice here because of its neutral, sweet profile, which allows the espresso to shine through without the competing saltiness of peanut butter. The addition of a high-quality espresso powder ensures the coffee flavor is concentrated enough to cut through the richness of the fats.
Finally, the topping is a minimalist dark chocolate ganache. We use high-percentage dark chocolate melted with a small amount of coconut oil to ensure it doesn't crack when you bite into it. A final sprinkling of flaky sea salt or even a few cacao nibs adds a professional finish and balances the sweetness. This trio of layers creates a dairy-free espresso chocolate slice that feels far more complex than the sum of its parts.
Step-by-Step Preparation & Technical Tips
Creating the perfect no-bake vegan caramel bars requires a bit of patience during the chilling phases, but the actual hands-on work is minimal. Start by lining your pan with parchment paper. A crucial professional tip is to leave parchment paper handles overhanging the sides of the pan. This allows you to lift the entire block of bars out once set, which is essential for achieving those clean, bakery-style edges.
For the base, combine your gluten-free vegan mocha bars ingredients in the food processor. You want a texture that resembles wet sand—if you pinch a bit between your fingers, it should hold together. Press this firmly into the bottom of your lined pan. I like to use the back of a spoon or even a flat-bottomed measuring cup to ensure the base is level and packed tight.
Pro Tip: If your base feels too dry, add a teaspoon of water or melted coconut oil at a time until it reaches the right consistency.
The caramel layer is perhaps the most technical part of the recipe. If you have ever wondered how to thicken vegan coffee caramel sauce without boiling it for twenty minutes, the answer lies in the ratio of solids to liquids. By blending creamy nut butter with melted coconut oil and a sweetener like maple syrup, you create an emulsion. The coconut oil acts as a natural setting agent that firms the caramel as it chills, while the nut butter provides body and structure. For the best texture, ensure the instant coffee is fully dissolved in a small amount of hot water or melted oil before mixing it with the other caramel ingredients. This prevents grainy patches of coffee in your smooth caramel.
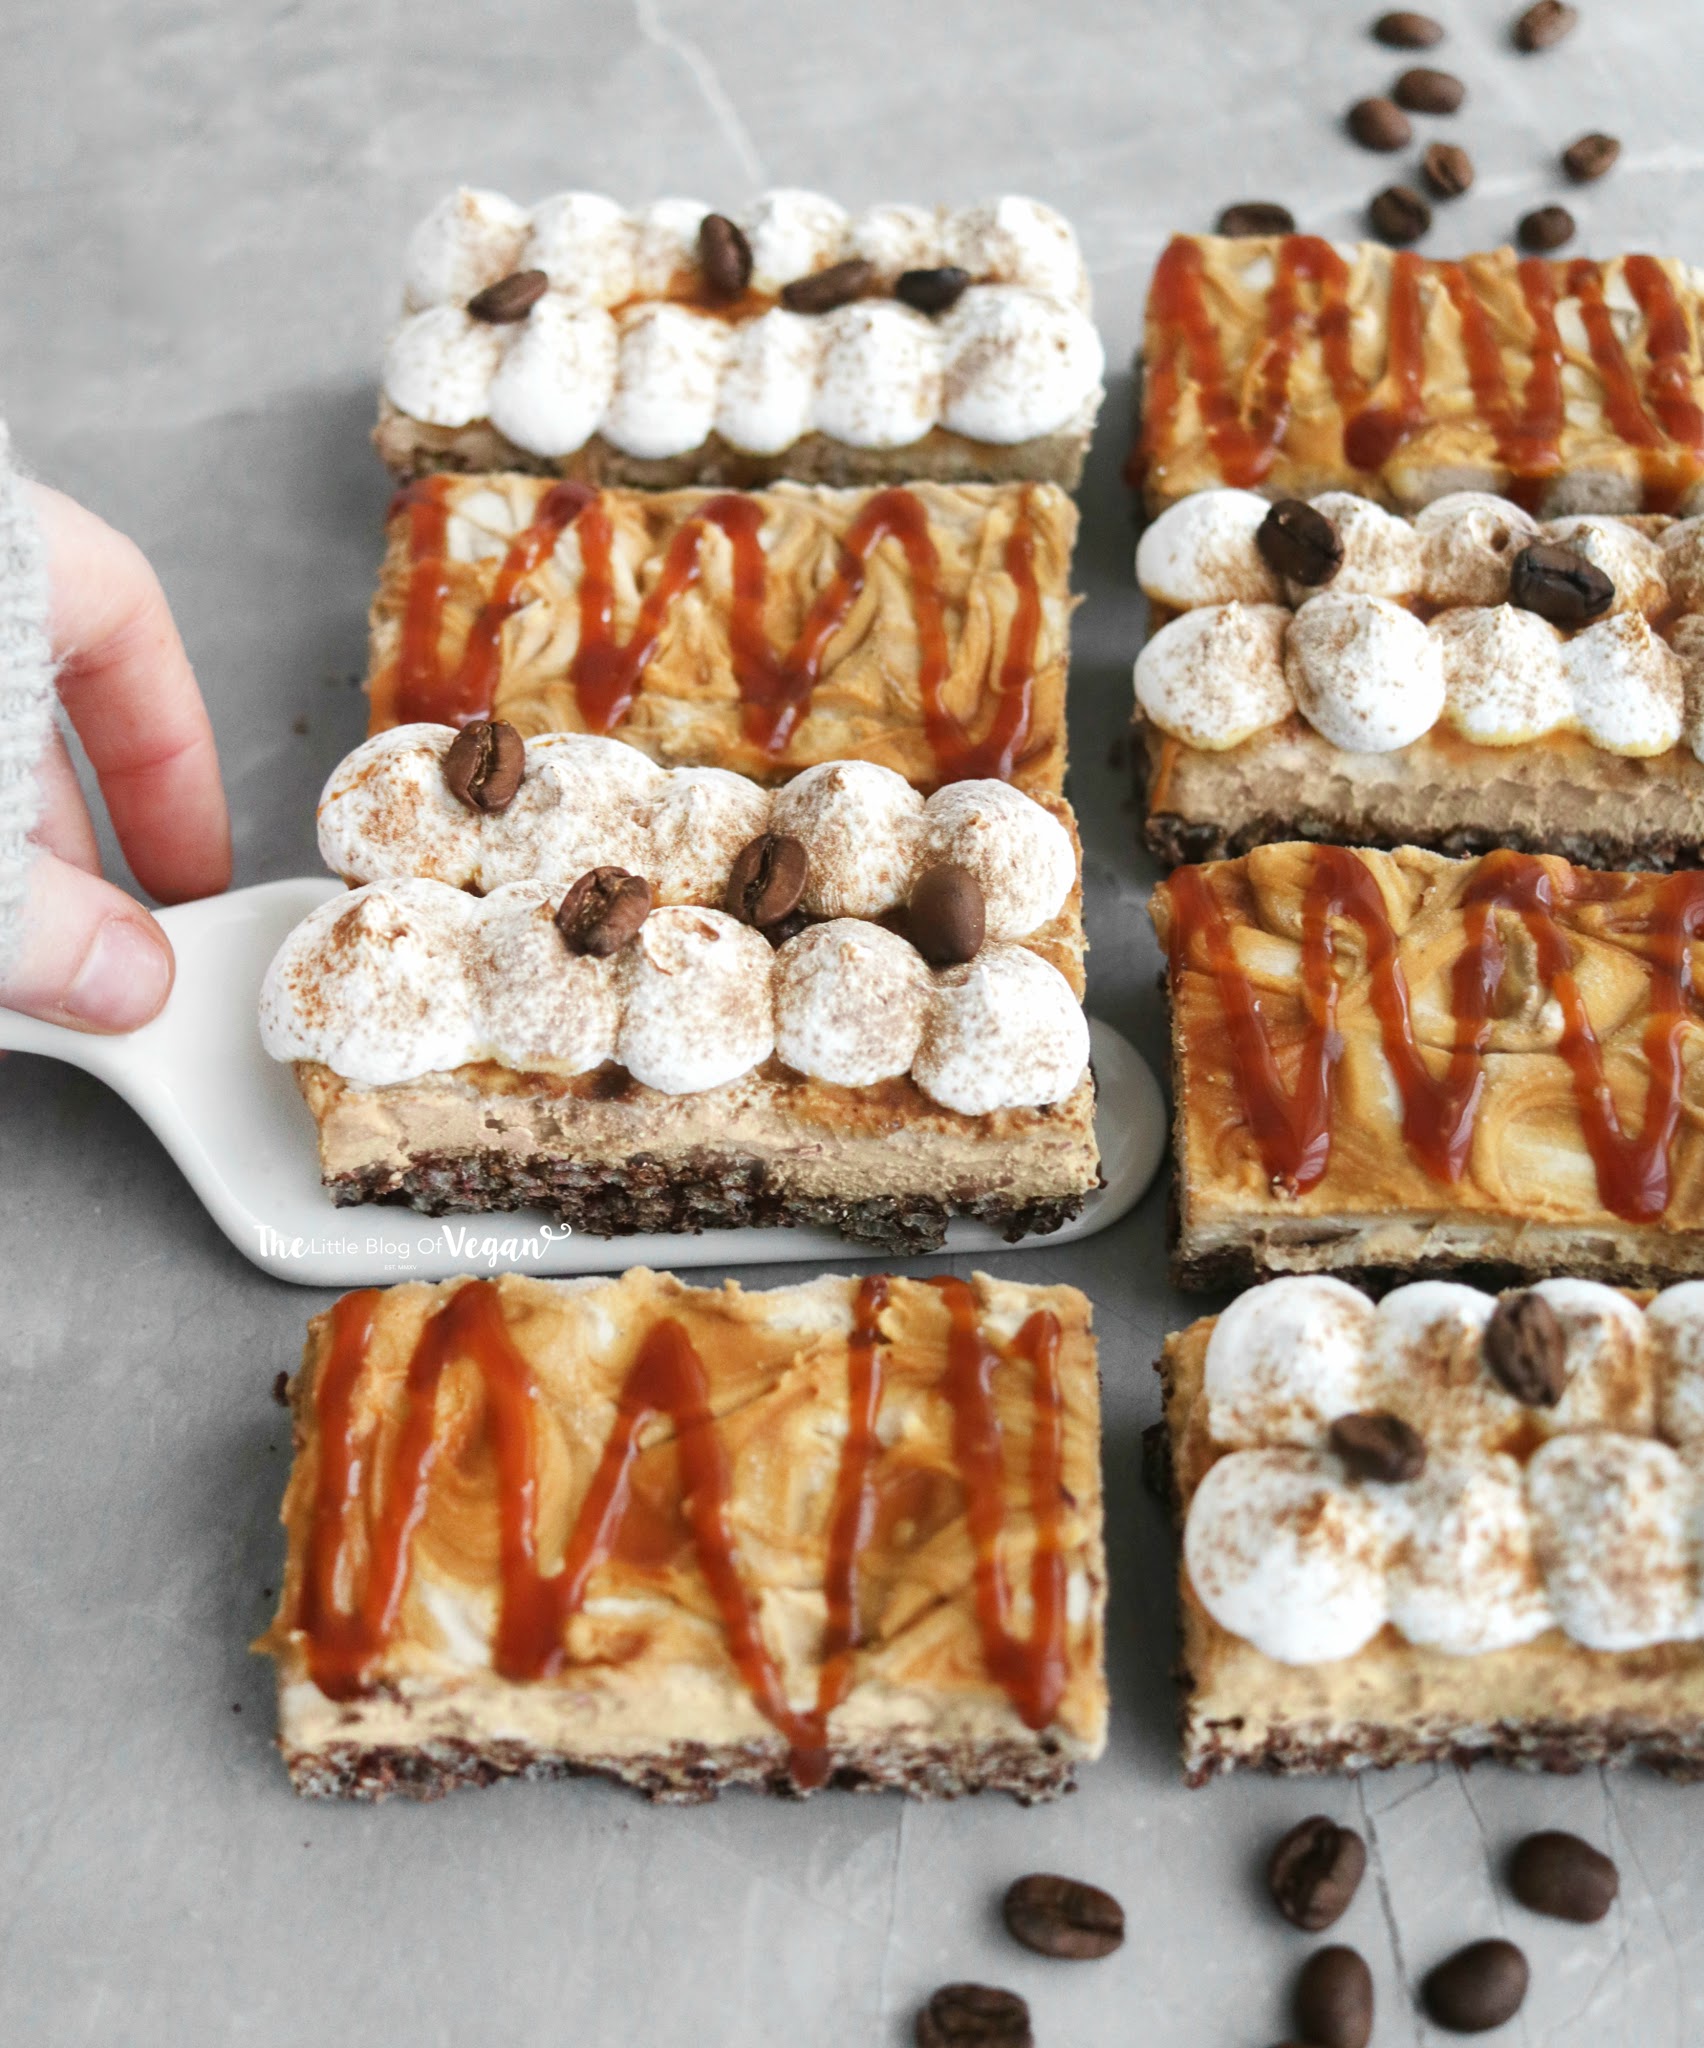
Once your caramel layer is poured over the base, it must chill in the freezer for at least 30 to 60 minutes. It needs to be firm to the touch before you add the chocolate. If the caramel is too soft, the warm chocolate will mix into it, ruining the distinct layers.
When the chocolate layer is ready, pour it over the cold caramel and tilt the pan to let it flow naturally to the corners. Before the chocolate sets completely, sprinkle your flaky sea salt. The best way to slice multi-layer vegan dessert bars is to wait until the chocolate is almost set but not rock hard. If the bars have been in the fridge for a long time, use a warm, damp knife. Dip the knife in hot water, wipe it dry, and make one clean slice. Repeat the cleaning and warming process between every single cut for those perfect, Instagram-ready squares.
Storage and Make-Ahead Instructions
One of the best things about these Vegan Espresso Caramel Bars is how well they store. Because they are no-bake and rely on healthy fats, they don't go stale like traditional cookies. You can keep them in an airtight container in the fridge for up to one week. If you enjoy a firmer, more fudge-like consistency, the fridge is your best friend.
However, many people prefer freezer storage tips for 3-layer vegan bars because it turns the treat into a near-frozen confection. These bars can stay in the freezer for up to one month. I recommend layering them between sheets of parchment paper so they don't stick together. When you're ready for a snack, you can eat them straight from the freezer for a chewy, cold texture, or let them sit at room temperature for five minutes to soften the caramel.
The popularity of these types of treats is backed by some serious market momentum. The global vegan chocolate market reached a valuation of approximately USD 750 million in 2024 and is projected to expand at a compound annual growth rate of 13.2% through 2034. Furthermore, the molded bars segment accounted for the largest revenue share in the global vegan chocolate confectionery market in 2024, representing 42.3% of the total market. Making these at home allows you to tap into this trend while controlling the quality of the ingredients, ensuring they remain refined sugar-free and packed with whole-food nutrients.
FAQ
How do you make vegan caramel for dessert bars?
To create a thick, stable vegan caramel without traditional stovetop boiling, you use a combination of nut butter (like cashew or almond), a liquid sweetener (like maple syrup), and a fat that is solid at room temperature (coconut oil). This mixture creates a rich, fudgy texture that sets beautifully when chilled. Adding a pinch of salt and vanilla extract helps mimic the depth of traditional dairy-based caramel.
Can I use instant espresso powder instead of brewed espresso?
Yes, and in fact, instant espresso powder is preferred for this no-bake vegan caramel bars recipe. Brewed espresso adds too much liquid, which can prevent the caramel from setting properly. By using espresso powder or instant coffee granules dissolved in a tiny amount of hot water or melted coconut oil, you get an intense coffee flavor without compromising the structural integrity of the caramel layer.
Are vegan espresso caramel bars typically gluten-free?
While the term vegan usually refers to the lack of animal products, these bars are very easy to make gluten-free. Most recipes use a base of nuts and oats. To ensure they are fully gluten-free vegan mocha bars with certified oats, check the labeling on your oat package to confirm they were processed in a gluten-free facility.
How long do homemade vegan caramel bars last in the fridge?
When stored in an airtight container, these bars will stay fresh and delicious for about 7 to 10 days. The cold temperature keeps the coconut oil firm, maintaining the distinct layers. If you find they are disappearing too quickly, you can always move a portion to the freezer for longer-term storage.
Can you freeze vegan espresso caramel bars for later?
Absolutely. These bars freeze exceptionally well. For the best freezer storage tips for 3-layer vegan bars, wrap individual bars or the entire block in parchment paper and then place them in a freezer-safe bag or container. They will last for up to a month and provide a satisfyingly chewy texture when eaten cold.
Why is my vegan caramel too soft or runny?
If your caramel isn't setting, it usually means the ratio of coconut oil was too low or it hasn't spent enough time in the cold. Since coconut oil is the primary setting agent, ensure you aren't skipping it. Also, ensure your nut butter is well-stirred and not just the oily layer from the top of the jar. If you are struggling with how to thicken vegan coffee caramel sauce in a pinch, you can stir in a tablespoon of coconut flour to help absorb excess moisture.
These no-bake vegan caramel bars with coffee are a testament to how far plant-based baking has come. By focusing on high-quality ingredients and simple technical steps—like using a warm knife and parchment handles—you can create a professional-grade dessert in your own kitchen. I encourage you to experiment with the recipe; perhaps add a layer of chopped pecans for extra crunch or swap the almond base for sunflower seeds if you need a nut-free version. Whatever you choose, don't forget to share your creations and tag us in your photos—we love seeing how you make these recipes your own!