Quick Facts
- Yield: 16 oz (approximately one standard mason jar)
- Total Time: 30-40 minutes (including roasting and cooling)
- Dietary: Vegan, Nut-free, Gluten-free option
- Nutrition: Approximately 200 calories per 4 tbsp serving
- Shelf Life: 3 weeks at room temperature or 2 months in the fridge
- Primary Ingredients: Rolled oats, coconut oil, maple syrup, and warm spices
To make smooth homemade granola butter, roast rolled oats and nuts or seeds at 325°F (160°C) until golden and fragrant. Process the toasted ingredients in a high-speed food processor for 10 to 15 minutes, pausing to scrape down the sides. The mixture will transform from a fine flour into a thick paste before emulsifying into a creamy consistency. Incorporate liquid fats like coconut or olive oil during the final stage to achieve a silkier texture.
If you have ever opened a jar of Speculoos or cookie butter and wished there was a version that felt more like a balanced breakfast and less like a dessert, you are in the right place. This homemade granola butter is the answer to the modern breakfast dilemma. It captures the cozy, toasted flavor of your favorite morning bowl but delivers it in a spreadable, silky emulsion that works on everything from sliced apples to sourdough toast.
The rise of oat-based products is not just a kitchen trend; it is backed by significant global shifts. The global granola market was valued at USD 5.41 billion in 2024 and is projected to reach approximately USD 8.86 billion by 2033, driven by a compound annual growth rate of 5.7%. As more people look for whole-grain alternatives to traditional nut butters, this vegan granola butter recipe stands out as a nutritious, allergen-friendly powerhouse.
Ingredients & The Ratio Rule: Customizing Your Spread
Creating the perfect jar of oat butter comes down to a simple scientific framework I like to call the Ratio Rule. While it is tempting to eyeball your ingredients, maintaining a specific balance ensures the fibers in the oats properly emulsify with the fats. My go-to formula for a standard batch is 4 cups of dry base (primarily oats), 1/3 cup of healthy fats, and 1/3 cup of liquid sweetener.
When selecting your dry base, always reach for old-fashioned rolled oats rather than quick oats or steel-cut oats. Rolled oats have the surface area needed to toast evenly and the structural integrity to break down into a smooth paste. For those with specific dietary needs, it is vital to use certified gluten-free oats to ensure the final product is safe for everyone at the table.
One of the best things about this recipe is the flexibility of granola butter ingredient substitutions. If you want to boost the nutritional profile, you can swap half a cup of oats for flax seeds, chia seeds, or hemp hearts. For a completely seed-free and unique twist, some enthusiasts use tigernut flour. To keep the recipe strictly plant-based, stick with maple syrup or agave. These vegan granola butter sweetener substitutions without honey provide a clean sweetness that complements the earthy oats without overpowering them.
| Ingredient Component | Standard Choice | Allergen-Friendly Alternative |
|---|---|---|
| Dry Base | Rolled Oats | Certified Gluten-free Oats |
| Healthy Fat | Melted Coconut Oil | Avocado Oil or Olive Oil |
| Sweetener | Maple Syrup | Agave Nectar or Date Syrup |
| Flavor Boosters | Cinnamon & Salt | Cardamom or Espresso Powder |
| Crunch Factor | Sunflower Seeds | Pumpkin Seeds (Pepitas) |
The Blending Journey: From Oats to Silk
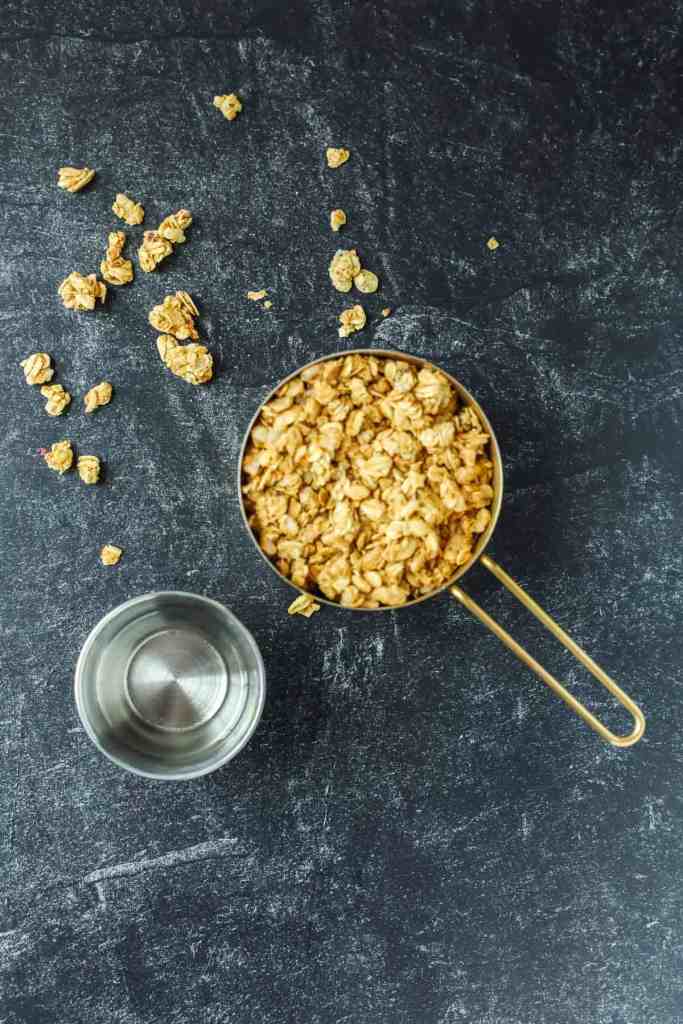
The secret to that deep, professional-grade flavor is the roasting process. Before the food processor even comes out of the cupboard, your oats need time in the oven. Roasting at 325°F is the sweet spot; it is high enough to brown the natural sugars in the grain but low enough to prevent the edges from burning. You are looking for a golden-brown hue and a scent that reminds you of a fresh bakery.
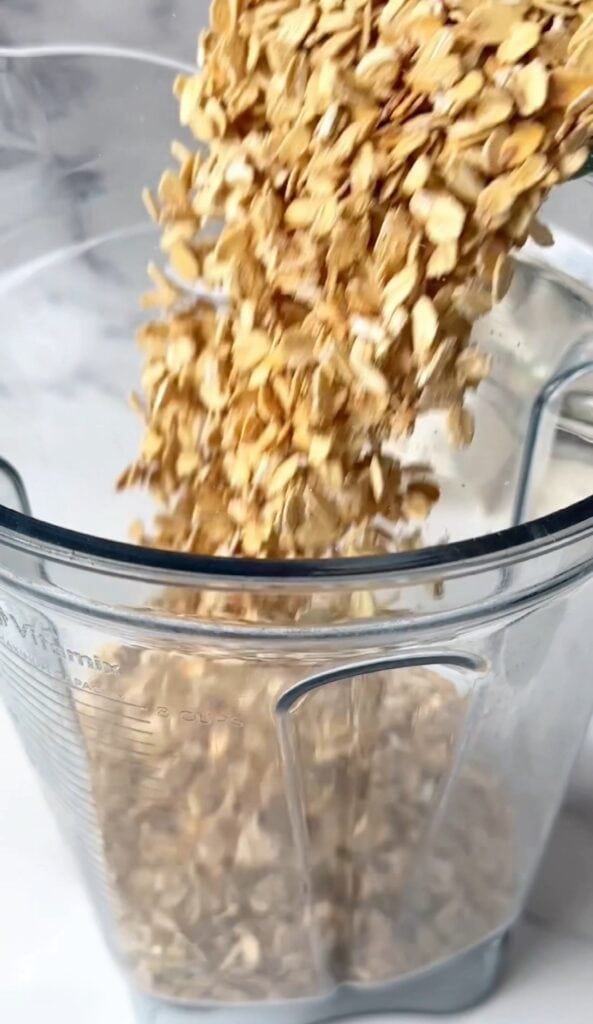
Once the oats have cooled slightly but are still warm to the touch, it is time to blend. Knowing how to make smooth homemade granola butter in a food processor is all about patience and recognizing the sensory milestones of the transformation.
1. The Flour Stage
In the first three minutes, your food processor will turn the oats into a fine, powdery flour. It will look like you are making oat flour for baking. Do not worry; this is exactly where you want to be.
2. The Clump Stage
As the natural oils begin to release and you add your liquid fats, the flour will start to form heavy clumps. You will hear the motor of your machine work a bit harder here. This is a great time to stop and scrape down the sides with a spatula.
3. The Paste Stage
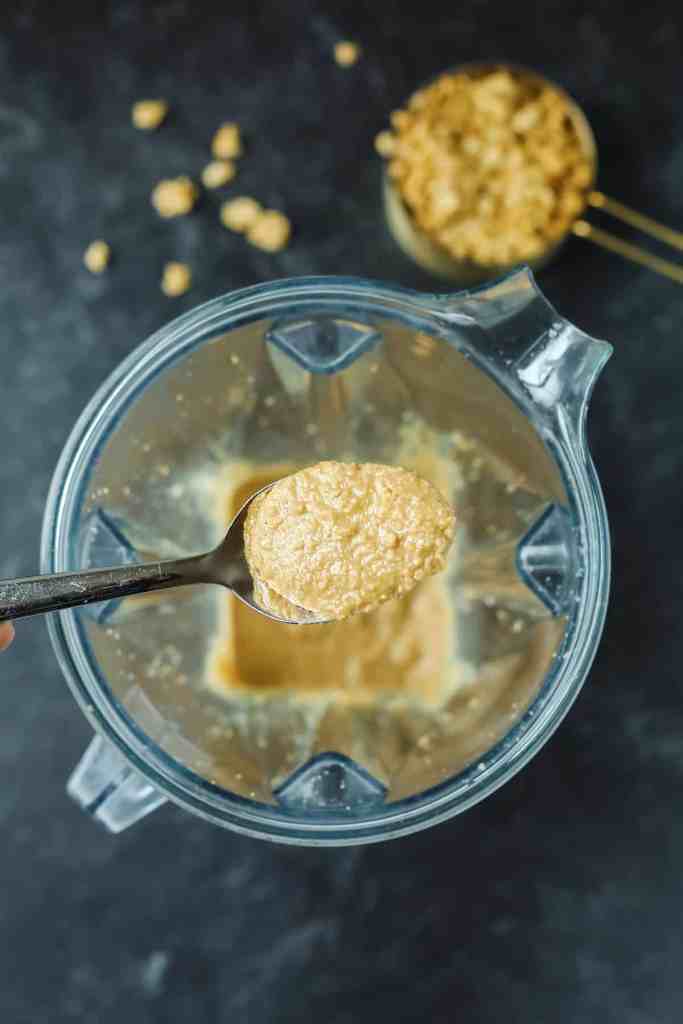
Around the seven-minute mark, the clumps will break down into a thick, gritty paste. It might look a bit like wet sand. At this point, the toasted flavor is fully developed, but the texture isn't quite ready for your toast yet.
4. The Silky Emulsion
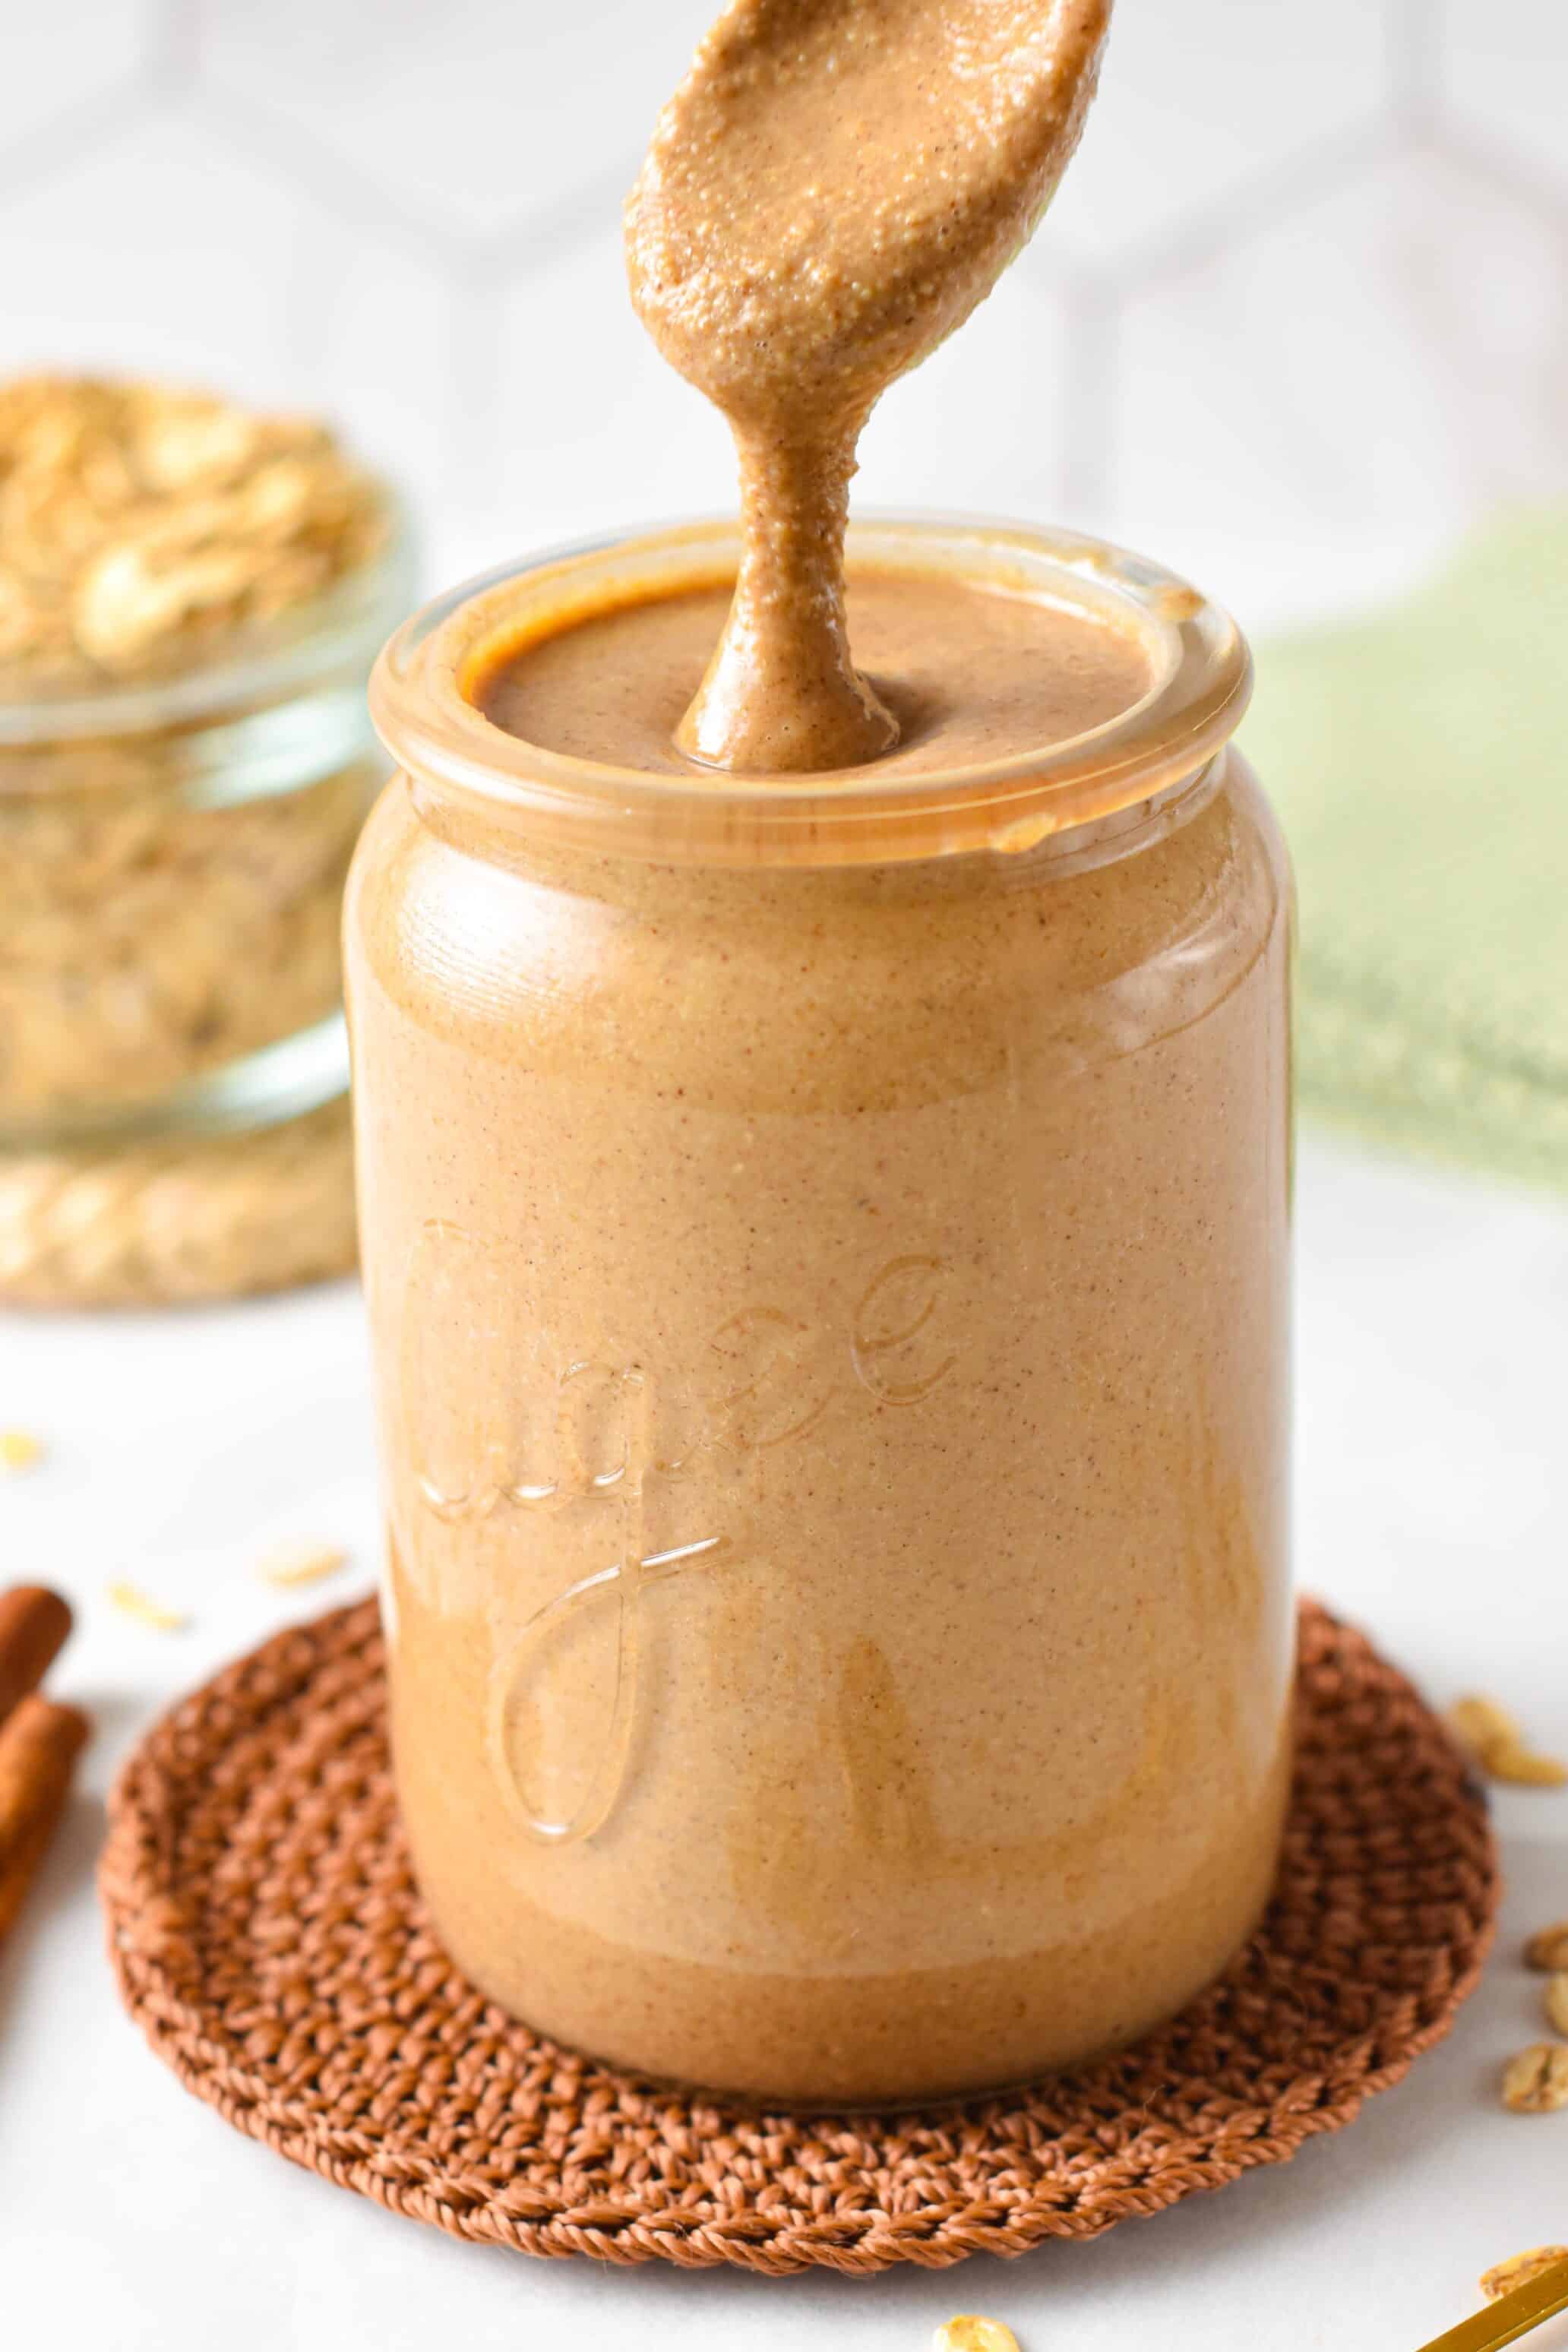
In the final stretch, the friction from the blades and the addition of maple syrup will cause the mixture to emulsify. The grit disappears, replaced by a glossy, creamy consistency that drips off a spoon. This usually happens between the 10 and 15-minute mark.
⚠️ Blender Safety: High-speed blending for 15 minutes can generate significant heat. To protect your equipment, take a 2-minute motor cooling break every 4 minutes. This prevents the motor from burning out and keeps the oils in the oats from getting too hot and becoming bitter.
Troubleshooting: Fixing Grainy Texture and Storage
Even seasoned home cooks sometimes run into a batch that feels a bit stubborn. If your butter remains grainy after 15 minutes of processing, the issue is usually a lack of moisture or a temperature drop. This is why warm-blending is so effective; the warmth helps the fibers soften and blend into the oil. To fix a gritty texture, simply add a teaspoon of neutral oil—like avocado or melted coconut oil—and blend for another two minutes. The extra fat helps the particles slide past each other, creating a much smoother mouthfeel.
How to store homemade granola butter for maximum shelf life is a common question. Because this recipe contains no artificial preservatives, environment matters. I recommend storing it in an airtight glass jar. If you keep it at room temperature, it stays perfectly soft and spreadable, making it a convenient meal prep staple for busy mornings. If you prefer a thicker, fudgy consistency, you can store it in the refrigerator, but you may need to let it sit out for a few minutes before spreading.
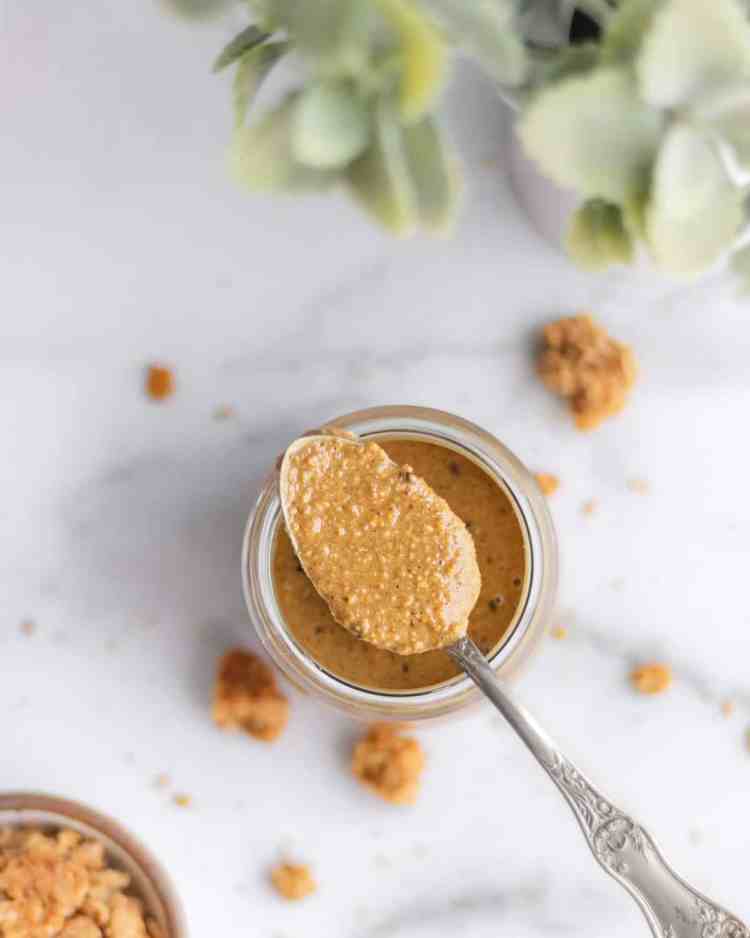
Always use a clean spoon when scooping from the jar to prevent cross-contamination, which can shorten the shelf life. If you notice any separation of oils on top, simply give it a quick stir. This is a natural sign that your product is free from the emulsifiers found in store-bought spreads.
Serving Ideas: Nut-Free School Lunches and More
One of the most compelling reasons to master this recipe is its status as a premier Speculoos alternative. For families dealing with nut allergies, finding a satisfying spread can be difficult. The nut-free snacks market, which includes allergen-friendly spreads, was valued at USD 1.2 billion in 2024 and is expected to reach USD 2.6 billion by 2035. This growth highlights the demand for safe, school-friendly options.
A nut-free granola butter recipe for school lunches allows you to pack GB&J (granola butter and jelly) sandwiches without worrying about cafeteria restrictions. But the utility goes far beyond sandwiches. Here are some healthy granola butter serving ideas for breakfast bowls and beyond:
- The Smoothie Swirl: Drizzle a tablespoon over a green smoothie for added heart-healthy fats and a hint of warm spices like cinnamon and nutmeg.
- The Ultimate Yogurt Topper: Use it as a yogurt topper alongside fresh berries and a sprinkle of hemp seeds.
- Apple Nachos: Slice up a crisp Honeycrisp apple and drizzle the butter over the top for a snack that feels like a treat.
- Espresso Variation: Add a teaspoon of espresso powder during the final blending stage to create a mocha-infused spread that pairs perfectly with morning coffee.
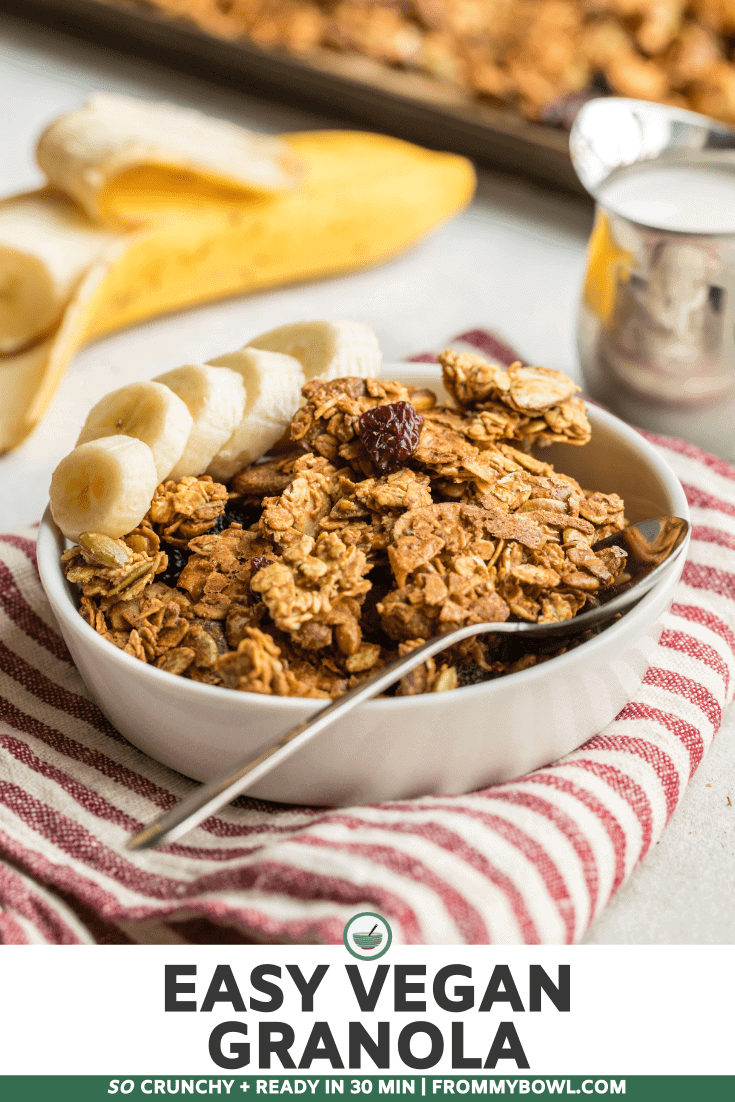
The beauty of this spread lies in its versatility. Whether you are looking for a vegan granola butter recipe to fit your plant-based lifestyle or just want a new way to enjoy your morning oats, this recipe offers a delicious, customizable solution.
FAQ
What is granola butter made of?
Granola butter is primarily made of toasted rolled oats, a liquid fat like coconut oil, and a sweetener such as maple syrup. It often includes warm spices like cinnamon, ginger, or cardamom, and a pinch of sea salt to enhance the flavors. Some versions also incorporate seeds like flax or sunflower seeds for added texture and nutrients.
Is homemade granola butter healthy?
Yes, homemade granola butter is considered a healthy alternative to many commercial spreads. It is rich in fiber from the whole-grain oats and contains heart-healthy fats from coconut or avocado oil. By making it at home, you control the sugar content and avoid the hydrogenated oils and artificial preservatives often found in processed nut butters.
How long does homemade granola butter last?
When stored in an airtight container at room temperature, it stays fresh and spreadable for up to three weeks. If you prefer to keep it in the refrigerator, it can last for up to two months. Always check for any changes in smell or the appearance of mold, though the low moisture content typically makes it very shelf-stable.
Is granola butter naturally nut-free?
While the base of oats is nut-free, "naturally" depends on the specific recipe and the sourcing of ingredients. This recipe is designed to be a nut-free granola butter recipe for school lunches, but you must ensure your oats and other ingredients are processed in a nut-free facility if you have severe allergies.
What can you eat granola butter with?
It is incredibly versatile and can be used anywhere you would use peanut butter or almond butter. It is excellent as a yogurt topper, a dip for fruit, a spread on toast or pancakes, or even swirled into oatmeal. It is also a fantastic ingredient for baking into cookies or energy bites.
How do you make granola butter creamy and not gritty?
The key to a creamy consistency is a combination of thorough roasting and long blending times. Roasting softens the oats, and blending for at least 10-15 minutes allows the fibers to fully break down. If it remains gritty, adding a small amount of neutral oil and ensuring the mixture is warm while blending will help the fats and fibers emulsify into a smooth spread.
I would love to hear how your batch turns out! Have you tried adding espresso powder or perhaps a dash of pumpkin spice? Share your favorite flavor variations and how you use this versatile spread in your morning routine.