Quick Facts
- Prep Time: approximately 20 minutes to prepare
- Set Time: 1 hour in the fridge or a 20-minute freezer shortcut
- Yield: 16 individual serving squares
- Storage: up to one week at room temperature or two weeks in the fridge
- Dietary: Plant-based, refined sugar-free, and gluten-free options
- Difficulty: Easy, zero-bake required
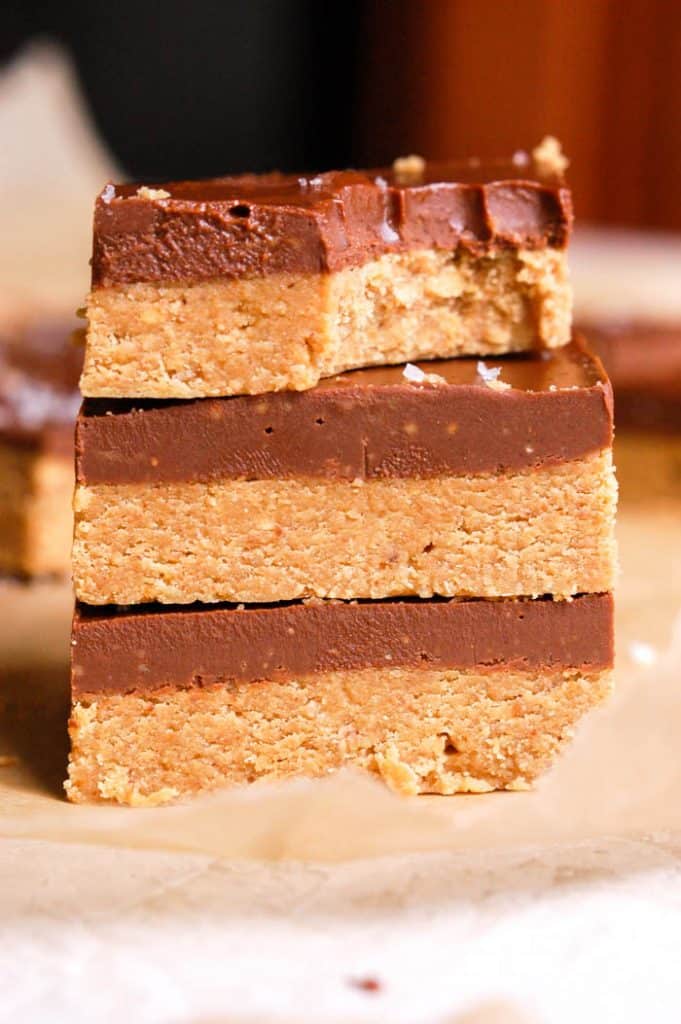
These healthy no-bake peanut butter bars are the ultimate guilt-free indulgence, combining plant-based protein with rich dark chocolate. Whether you are meal prepping for the week or looking for a refined sugar-free snack, this Melissa Hemsley-inspired recipe delivers a healthy Reese’s experience with minimal effort and zero baking. To keep your no-bake peanut butter bars from falling apart, press the base mixture firmly and evenly into a lined tin and allow them to set in the fridge for at least one hour to bind properly.
Perfecting the Base: Ingredients and Nut-Free Swaps
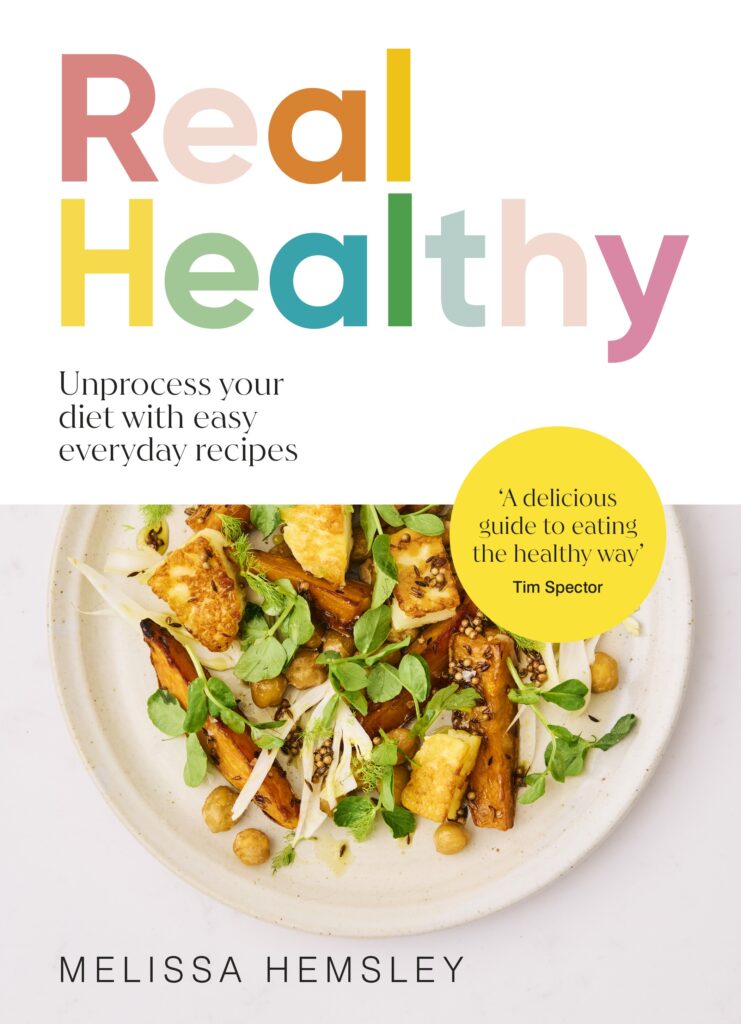
The soul of Melissa Hemsley's approach to cooking is the replacement of highly processed fillers with nutrient-dense, whole-food alternatives. In this recipe, the traditional buttery cracker base is swapped for a combination of ground almonds and gluten-free oats. These ingredients don't just act as binders; they provide a slow-release energy source and essential fats that transform a simple dessert into a functional snack.
When choosing your fat source, the choice between smooth peanut butter vs cashew butter in no-bake treats comes down to flavor profile and desired creaminess. Smooth peanut butter offers that classic, nostalgic saltiness, while cashew butter provides a more neutral, buttery finish that allows the natural sweeteners like maple syrup or honey to shine. Regardless of your choice, ensure the butter is the runny, natural kind without added palm oil to maintain the correct consistency for the base.
For those managing allergies, finding nut-free substitutes for no-bake peanut butter bars is straightforward. You can easily pivot to pumpkin seed butter or sunflower butter. Because these seed butters can be slightly more liquid than almond or peanut butter, you might need to adjust your dry ingredients. When considering oat flour vs ground almonds in no-bake bars, oat flour is much more absorbent. If you are going nut-free and replacing the almonds with oats, use a slightly lower volume of seed butter to ensure the mixture stays firm rather than greasy.
The Substitution Matrix
| Ingredient | Standard Option | Nut-Free Alternative | Pro-Tip |
|---|---|---|---|
| Nut/Seed Butter | Smooth peanut butter | Pumpkin seed butter | Stir well to incorporate natural oils. |
| Flour/Binder | Ground almonds | Oat flour or extra porridge oats | Oat flour creates a denser, cakier bar. |
| Sweetener | Maple syrup | Honey or brown rice syrup | Honey provides a stronger floral note. |
| Crunch | Chopped peanuts | Toasted sunflower seeds | Toasting the seeds enhances the nutty aroma. |
To ensure a seamless experience, the first step in your preparation should always be the parchment paper lining. Leaving an overhang on the sides of your tin creates a sling, allowing you to lift the entire block of no-bake peanut butter bars out once they have set. Without this, the refined sugar-free base can stick to the corners, leading to crumbly edges when you try to wedge a knife in.
The Chocolate Topper: Mastering the Bain-Marie
The crowning glory of these healthy chocolate peanut butter bars is the glossy, snappy chocolate layer. Melissa Hemsley recommends a high-quality dark chocolate to balance the richness of the peanut base. For the best dark chocolate cocoa percentage for healthy treats, aim for at least 60% cocoa solids. This provides a deep, sophisticated bitterness that pairs beautifully with the saltiness of the nuts without the cloying sweetness of milk chocolate.
To achieve a professional finish, avoid the microwave, which can easily seize or burn delicate chocolate. Instead, utilize the bain-marie technique. Place a heatproof bowl over a saucepan of gently simmering water, ensuring the bottom of the bowl does not touch the water. This indirect heat melts the chocolate evenly and maintains its temper. For a silkier pour, stir in a teaspoon of coconut oil; this also makes the chocolate slightly softer when chilled, which helps when cutting clean slices later on.
Before the chocolate sets, a sprinkle of flaky sea salt is essential. This isn't just a garnish; it acts as a flavor enhancer that bridges the gap between the dark chocolate and the creamy base. It transforms the bar from a simple sweet into a gourmet snack. Make sure your kitchen parchment is secure before pouring the chocolate to prevent any pooling under the base.
Setting and Slicing: The Science of Clean Cuts
One of the most common frustrations with no-bake treats is the texture—either they are too hard to bite through or they dissolve into a mess the moment you pick them up. The secret lies in the temperature. When choosing between setting no-bake chocolate bars in the freezer vs fridge, consider your timeline. The fridge takes about an hour and results in a more stable, gradual set. The freezer is a great shortcut for those in a hurry, taking only 20 minutes, but be careful not to leave them in too long, or the chocolate can develop a white bloom from the moisture.
Once set, you face the final hurdle: cutting clean slices of no-bake chocolate bars. If you take a cold knife to a cold bar, the chocolate topper will almost certainly crack and shatter. To avoid this, run a sharp chef's knife under hot water, wipe it dry, and then press it firmly into the bar. The heat from the blade will melt through the chocolate layer smoothly, leaving you with perfect, professional-looking squares.
If you find yourself wondering how to prevent no-bake bars from falling apart, look at your compression. When you first move the mixture into the tin, you must be firm. Use the back of a metal spoon or a flat-bottomed glass to press the base into every corner. This physical pressure forces the plant-based protein and fats to bind with the oats, creating a cohesive structure that survives the slicing process.
Storage and Meal Prep Logistics
These treats are designed for the busy modern lifestyle. Because they are packed with stable fats and low-moisture ingredients, storing no-bake peanut butter treats is incredibly simple. They are perfect as lunchbox-friendly treats because they can withstand being out of the fridge for a few hours without losing their shape, provided the weather isn't excessively hot.
For daily snacking, a sealed container kept at room temperature is sufficient. However, the shelf life of homemade no-bake chocolate bars extends significantly if you choose the refrigerator. In the fridge, they stay fresh for up to two weeks, though they rarely last that long in most households. If you are engaging in serious meal prep no-bake peanut butter bars for snacks, these bars are exceptionally freezer-friendly. Wrap individual squares in parchment paper and store them in a freezer bag; they can be eaten straight from the freezer for a firm, fudge-like texture, or allowed to thaw for five minutes for a softer bite.
These energy-dense snacks provide a satisfying hit of healthy fats and fiber, making them an excellent choice for a mid-afternoon pick-me-up or a post-workout recovery treat. By focusing on high-quality ingredients and proper setting techniques, you can enjoy a decadent-tasting dessert that aligns perfectly with a health-conscious lifestyle.
FAQ
How long do no-bake peanut butter bars last?
When stored in an airtight container at room temperature, these bars remain fresh for up to one week. If you prefer a firmer texture or are keeping them in a warmer environment, moving them to the refrigerator will extend their life to about two weeks. For long-term storage, they can be frozen for up to three months.
Do no-bake peanut butter bars need to be refrigerated?
While they are stable at room temperature for several days, refrigeration is highly recommended, especially during the summer months. Keeping them cool ensures the chocolate layer remains snappy and the base stays firm. If you are packing them in a lunchbox, they will hold their shape well until midday, but they should not be left in direct sunlight or a hot car.
Can you freeze peanut butter bars?
Yes, these bars freeze beautifully. To prevent them from sticking together, place a small piece of parchment paper between the layers or wrap each bar individually. Freezing them actually creates a lovely, fudge-like consistency that many people prefer. They only take a few minutes to thaw at room temperature.
How do you keep peanut butter bars from falling apart?
The key is a combination of firm pressing and proper chilling. Use a heavy spoon or a flat glass to compact the base mixture into the tin as hard as you can. This ensures the oats and almonds are tightly bound by the liquid sweeteners and fats. Additionally, skipping the hour-long chilling time is the most common cause of crumbling; the ingredients need that time to solidify together.
What can I substitute for graham crackers in peanut butter bars?
In Melissa Hemsley's healthier version, graham crackers are replaced with a mixture of ground almonds and porridge oats. This swap increases the protein and fiber content while keeping the recipe refined sugar-free. If you want a more traditional crunch without the crackers, you can use toasted buckwheat groats or finely chopped sunflower seeds.
Are peanut butter bars gluten-free?
This specific recipe is naturally gluten-free provided you ensure that your oats are certified gluten-free. While oats themselves do not contain gluten, they are often processed in facilities that handle wheat. Always check the label if you are preparing these for someone with a gluten intolerance or celiac disease.